Unlocking Context from Your Issue Trackers
With access to your issue management systems, Macroscope can:- Generate better code summaries: Using context from linked tickets and issue metadata, Macroscope can create more detailed and accurate code summaries
- Create new tickets: Anyone on your team with access to Macroscope can ask Macroscope create new tickets, directly in Slack.
- Generate better answers: Macroscope will use context from your ticketing systems — including linked commits and issue metadata — to generate richer answers in AMA.
Jira
Macroscope can connect to your team’s Jira instance to get more information about the work being done and take action within Jira on your team’s behalf. When you connect Macroscope to Jira, you will set up the integration via an authorizing Jira account. Once you set up the integration, anyone on your team with access to Macroscope will be able to:- Ask Macroscope to create tickets in any Space that the authorizing account can access. Any issues created will be authored by the authorizing account.
- Query Macroscope about tickets and Spaces that the authorizing account can access.
Step-by-Step Jira Integration Instructions
Sign in to Jira
First, make sure you are logged out of any personal Jira accounts on your browser.Click Connect Jira. You will be taken to a Jira sign in page.Sign in with the Jira account you want to authorize for Macroscope.
In certain cases, after linking Jira to Macroscope, a site admin may need to manually authorize the connection. In this case, ask a Jira site admin to:
- Go to Atlassian Administration → Apps → [your-site].atlassian.net → Connected apps
- Find Macroscope and click Authorize/Allow for the site.
Review Project List
After you authorize Macroscope to access your Jira account, you will see a list of all of the Spaces that Macroscope has been granted access to. Any Spaces listed will be accessible to anyone on your team with access to Macroscope. Any Spaces not listed will not be accessible.After you review the list, click Confirm Access to complete the integration.
Linear
Linear Permissions
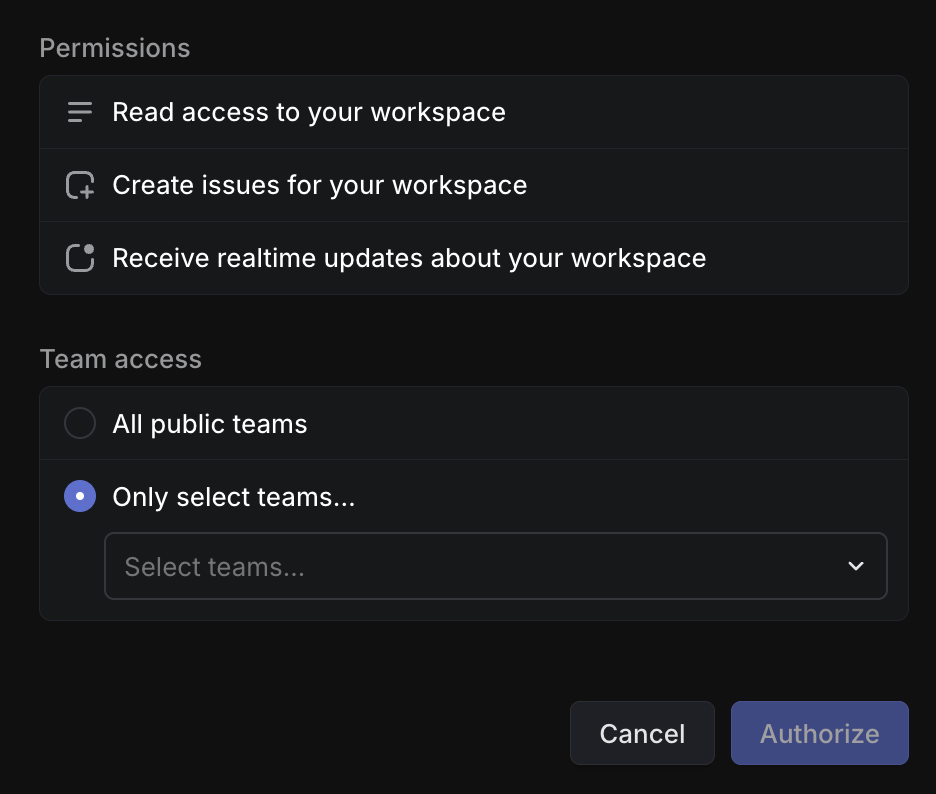
When you connect Linear to Macroscope, you can choose which Linear teams Macroscope has access to. All issues and associated metadata within those teams will be available to anyone on your team with access to Macroscope.Step-by-Step Linear Integration Instructions
Sign in to Linear
Click Connect Linear. You will be taken to a Linear sign in page. Sign in with your Linear account.
Choose Team Access
Once you are signed in, Linear will prompt you to choose which teams Macroscope can access. All issues and metadata in those selected teams will be available to anyone using Macroscope.
You can select all public teams or only select teams…. If you select only select teams…, you will be prompted to select the teams you want Macroscope to have access to.
You can select all public teams or only select teams…. If you select only select teams…, you will be prompted to select the teams you want Macroscope to have access to.
